Spring may not have sprung yet, but we promise, it is right around the corner. To get you ready for this season of new beginnings, we’ve designed a two-part plan to help you and your students give back to your community and de-clutter a bit at the same time! Encourage students to share their unwanted items to help those in need or give your customers a chance to put a new spin on something old — we’ll lay it all out for you, and you choose the event that best fits your store.
Ready to spring into action?

Do some good with a donation drive
Many students want to get involved with their community, but some may feel like they lack the time to actually volunteer and others simply don’t know where to start. Sponsoring a donation drive with a central location (i.e., your store) will make it easy for students to make a visible and practically effortless contribution — and help them get rid of some stuff they don’t want! Here’s how you’ll do it:
1. Check the rules
We can’t stress this enough: make sure you follow all of the rules and regulations for donations that are specific to your school and state. Avoid any wasted time or effort before you begin planning and ensure that all of your donations will actually make it to the intended recipients.
2. Choose a cause
There certainly isn’t a shortage of worthwhile organizations in need of some help, so with a little investigation, you can find the perfect fit for your store’s event. You could pick a campus or community food bank, a local shelter, a nearby charity or a nationwide one that accepts shipped donations. (After deciding which organization you’ll be collecting donations for, make sure to find out what they specifically need, since supplying necessary items will make your contribution much more valuable.) Some organizations are a little more publicized than others, so we’ve included a few off-the-beaten path — be sure to investigate your local options too, since many community groups would appreciate more contributions:
- Food drive: Sponsoring a food drive is an easy way for your store to make a big difference for your community. Plus, a few cans or small food items will easily fit in a backpack, making it easy for your students to donate! If your campus doesn’t have a food bank, find out where the nearest one is with a simple search: for example, this one courtesy of Feeding America.
- Shoes: There are a lot of options out there, particularly for running shoes, like Soles4Souls.
- Trash/wrappers: Terracycle accepts a wide range of “trash” in exchange for points toward charitable donations. What they can accept runs the gamut from energy bar wrappers and packaging to pens and markers, so find out how your store can become part of one of their “brigades.”
- Digital devices: Music & Memory collects used iPods in order to create personalized playlists for nursing home residents, specifically for those with Alzheimer’s. The website has additional information, guidelines and donation forms, as well as clips from a documentary about the project and the organization’s history.
3. Contact the organization
Get in touch with whichever group you choose to find out guidelines and limitations regarding donated items, if they will supply collection materials like bins, boxes or bags, and also how you will get the donations to their organization (if you’re expected to ship them, drop them off or if they will arrange pickup).
4. Set a date
Decide when you’ll be accepting donations, and for how long. Will you designate one day for a promotional tie-in like a discount on a purchase with a donated item, or set up a spot where participants can bring in their items for an extended period of time? Either way, be clear on all of your promotional materials exactly when and what you’ll be accepting.
Which brings us to...
5. Promote the event
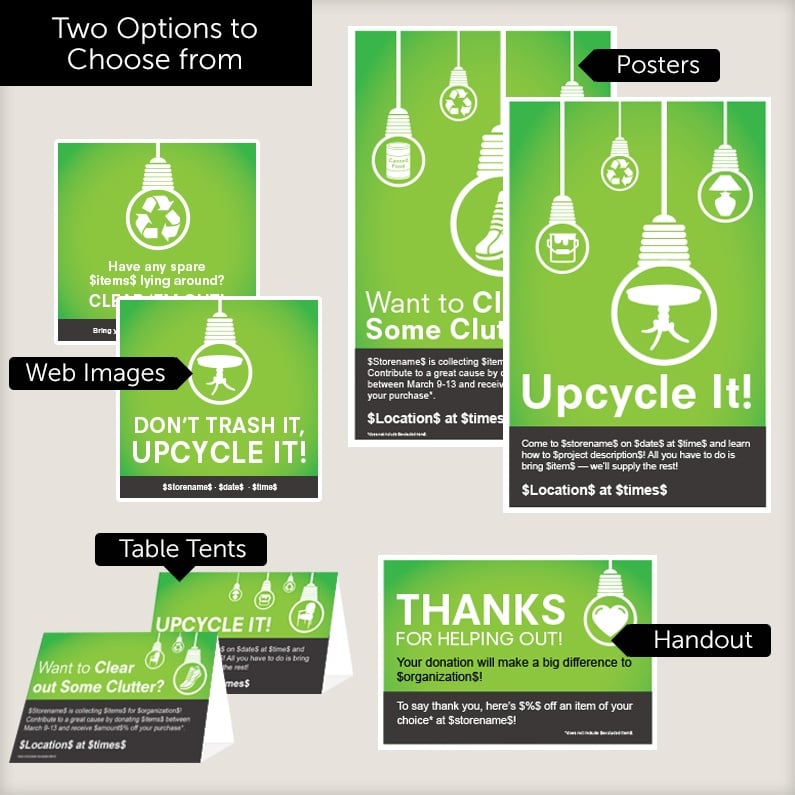
Get the word out about what you’re doing and why. We’ve supplied customizable poster and table tent templates, and web image so you can let your customers know all about it - if you decide to offer a percentage discount for participants, you can either issue the discount immediately or use our coupon template to encourage repeat business. Be active on your social media accounts, since sometimes people need a little reminder when it comes to bringing in their donations.
6. Extra credit: Show off!
Depending on how much floor space you have (and what the donations consist of), why not make it obvious that your students care by creating a display of the donated items? Show how the pile grows by storing it in clear bins or make a tower of canned food and post picture updates on your Facebook page.
Host an Upcycle It! event
 If you’ve ever even glanced at Pinterest, you’ve probably noticed that upcycling is all the rage right now. Transforming something that you no longer use (or that is just plain ugly) into a whole new accessory or decorative item is fun, easy and as uncomplicated as you make it. Get your students in the door with an artsy event and send them home with a project that’s a whole new spin on something old. Not only will you create some great memories, you’ll also establish your store as more than just the place they go for books and highlighters, all for the price of a little glitter and glue.
1. Choose your project
Check out our Upcycle It! Event board on Pinterest for easy project ideas and tutorials — for example, if you have some old magazines lying around and Modge Podge, you’re all set to create!
2. Set a date
A weekday evening or weekend morning or afternoon will probably work best, and attract the largest turnout. Decide if you’ll need participants to register beforehand (to gauge supplies needed) or if anyone who stops by may join in.
3. Promote the event
Use the poster and table tent templates we’ve provided, along with the web image to make sure your customers are informed. Post on your social media accounts leading up to the event date and be sure to post pictures after to show everyone how much fun you had.
4. Prepare the event area
Set up a designated spot out of the way of foot traffic, with plenty of table space and chairs. If you think things will get messy, cover the table and/or the floor area with kraft paper or plastic sheeting. Make sure you have enough supplies before your event begins so everyone can complete at least one item.
5. Document and follow up
Take plenty of pictures throughout the process, and then post ’em! Ask for feedback, and then get your online fans and followers to help you choose your next project.